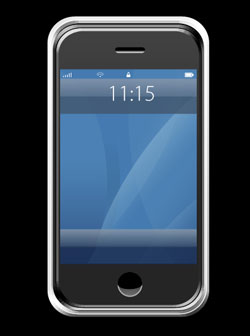
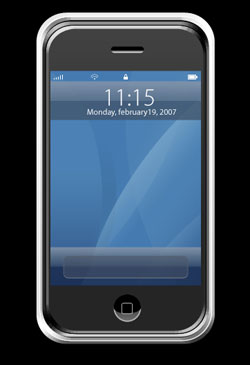
Apple iPhone Mobile Phone Design Part 2
Fill 0% on the layers and situate the Opacity on 80%.
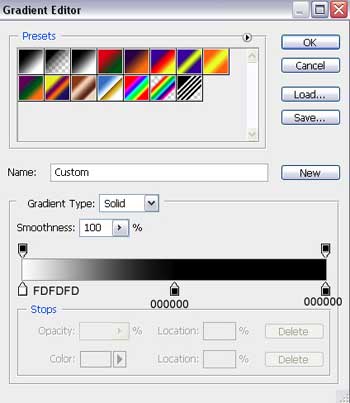
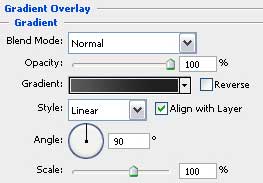
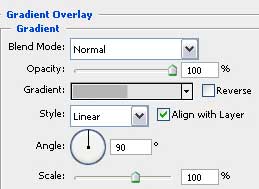
Blending Options-Gradient Overlay
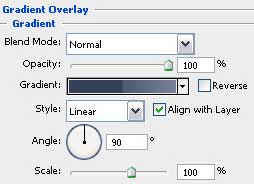
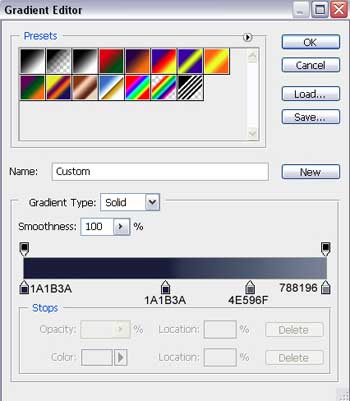
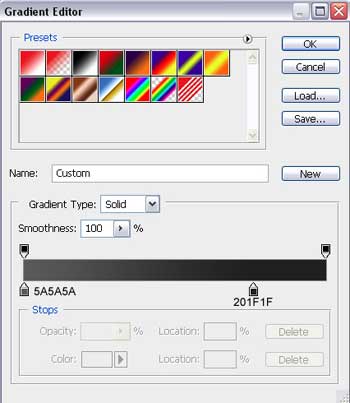
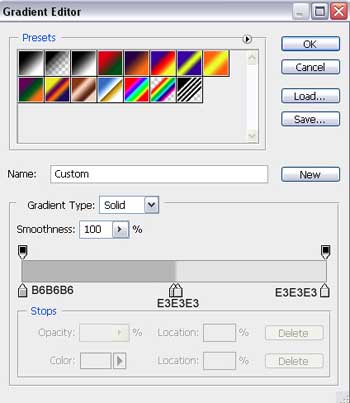
Gradient’s parameters:

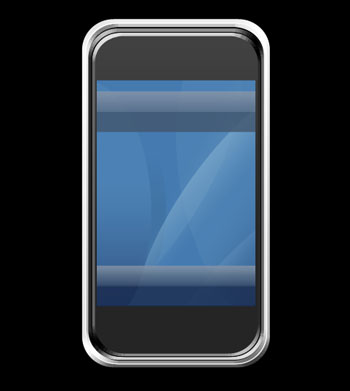
Make a copy of this new represented layer and situate it on the bottom of the screen. Don’t forget to change the parameters with those shown below:
Blending Options-Gradient Overlay
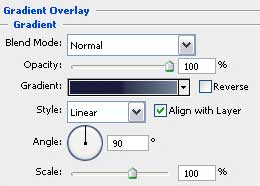
Gradient’s parameters:
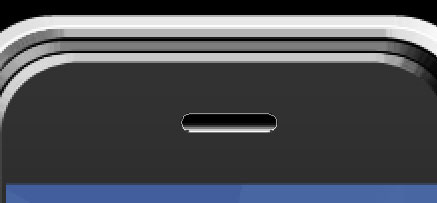
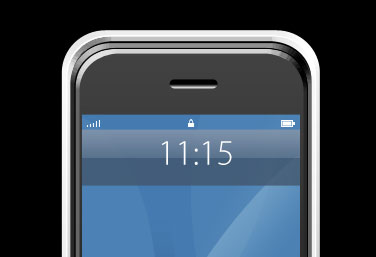
The next tool  will be helpful in drawing a kind of opening reserved for the loudspeaker.

Fill 0% on the layers.
Blending Options-Gradient Overlay

Gradient’s parameters:
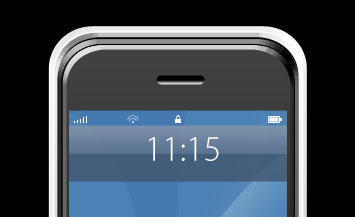
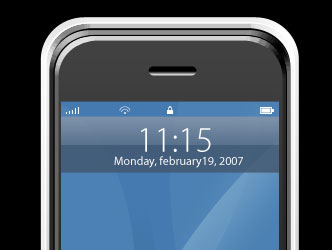
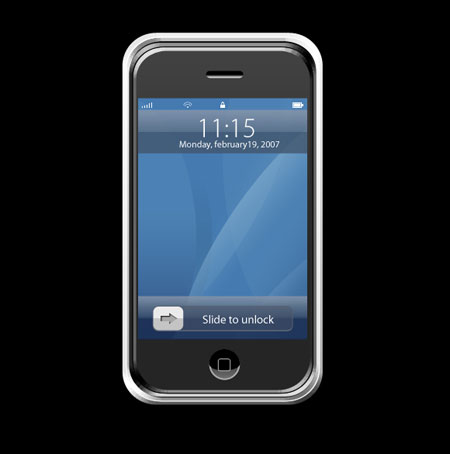
Select the instrument shown here  and draw several indicators of white color on the menu’s panel. (the lock should be realized in two stages, applying two instruments:
  and )
and )

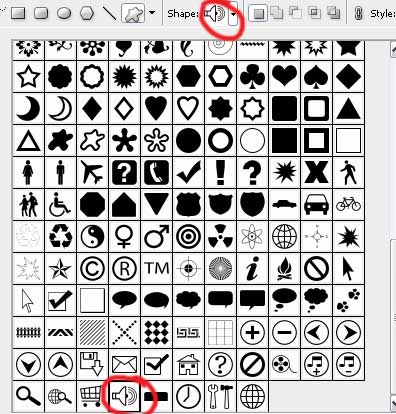
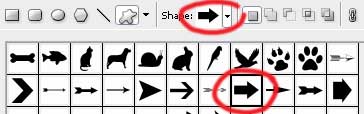
Choose the instrument from here  to have again the possibility to select the appropriate cliché, like it is indicated in the next picture:
The Free Transform option will help us to turn around the element, to erase the unnecessary elements and to set the white color. Use the instrument to insert a kind of dot between the figures. The Opacity is of 70%.

Take the following tool and represent the lowest layer designed for the camera.

Blending Options-Gradient Overlay
Gradient’s parameters:
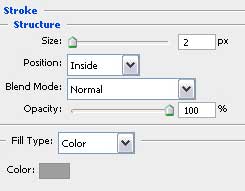
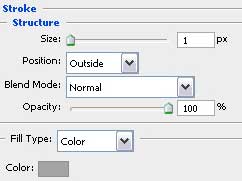
Blending Options-Stroke
Take the previous instrument to create a kind of darkening of black color on the upper part of the camera. Both these instruments  and
and  will be helpful in making the necessary corrections on the shape.

Select another instrument to represent the usual orifice for the camera.


Fill 0% on the layers.
Blending Options-Stroke
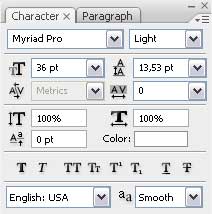
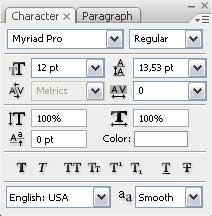
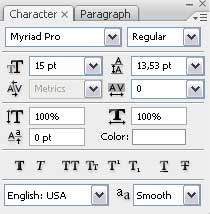
Introduce the date on the menu’s panel, keeping the demands from the table you may see here:
Choose the already known instrument to represent on the lowest part of the screen one more panel colored in 495467.
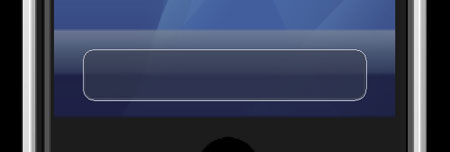
Fill 50% on the layers.
Blending Options-Stroke
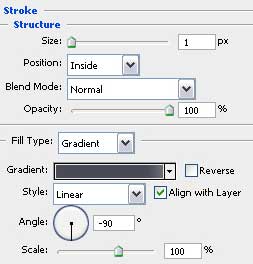
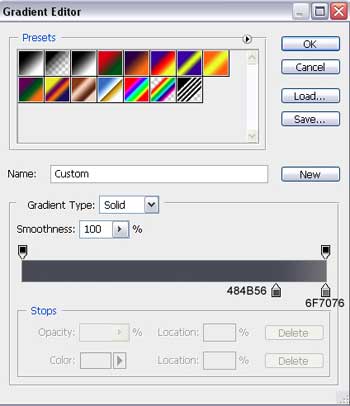
Gradient’s parameters:
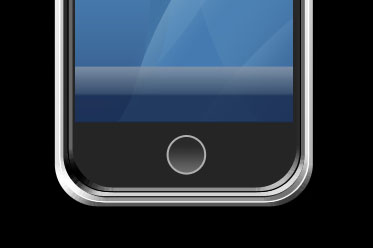
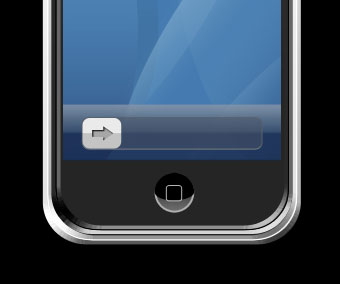
Using the last instrument, it’s possible to create the button on the lowest panel.
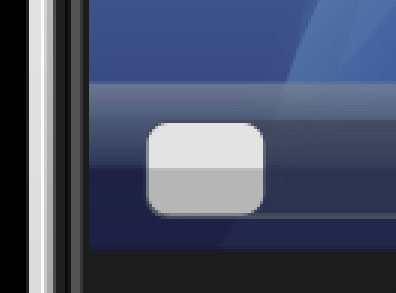

Blending Options-Gradient Overlay
Gradient’s parameters:
Select again the instrument to choose another cliché shown in the next table with red color.
Represent a grey color pointer on the button.
Blending Options-Inner Shadow
Insert in the end the additional reference text, having the same demands indicated in the table below:
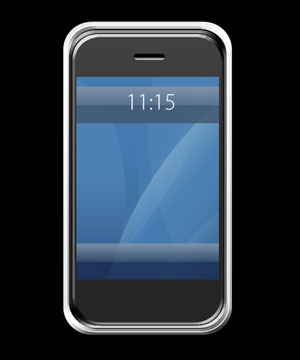
Finished!

0 Response to "Apple iPhone Mobile Phone Design Part 2"
Post a Comment