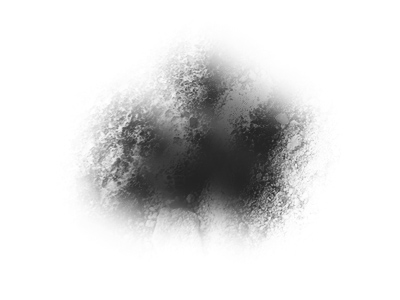
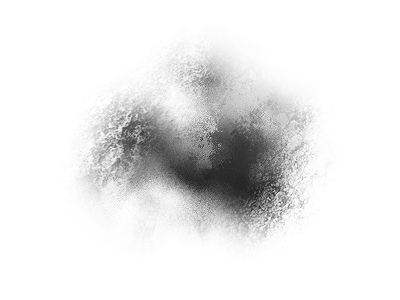
Creating Your own Grunge Brushes
I’ll show you a fairly simple yet very effective method of making good grunge brushes in this tutorial. Enjoy.

Step 1
1. New Document
First of all, as usual, create a new document in Photoshop. This is up to you, do you want a very large brush that you can size down every time you want to use it? Or do you want a brush around 200 pixels in size so that it’s ready for use whenever you want to use it in a small document. It’s probably best to use a very large document size for this tutorial, but I’ll just use a small size for the sake of learning.
2. Initial Brushing
Get out one of the standard soft brushes that come with Photoshop. Size it up to whatever size you would like it, then brush a few blobs onto the background.
These are the settings I’ve got:

This is what my random brushing looks like:

Now merge all of your layers together, so that you only have one layer.
Step 2
3. Apply Texture
The next thing we need to do is apply some sort of texture to the brush. Start by finding a good texture on the internet. For this tutorial I’ve used this dirt texture that I took a few months ago.
Open up your texture and save it as a PSD file onto your desktop.
Now back to your brushing document. Be sure your layers are merged together, then go to Filter > Distort > Displace, using the settings shown below, or similar.

Step 3
After you press OK (shown in the top right of the above screenshot) you’ll be asked to choose a PSD file, this is used to displace the current document. Choose the PSD that you earlier saved to your desktop.

Step 4
Looks pretty decent in my opinion, but be sure you mess around with different settings and textures.
4. Finishing Off
To finish this off, get another grunge brush either you made or someone else, and brush a little bit over the edges with white as your foreground color.

Step 5
You may also want to apply Filter > Sharpen > Sharpen to your brush layer, to give it a little more detail. Remember to get creative, remember to try different textures, filters, layer modes, etc.
After you’re finished with making the brush, select the canvas (ctrl+a) then in your Photoshop menus, go to Edit > Define Brush, then it will show up in your brushes. This is a grungy image I came up with using the brushes that I made using this tutorial:

Thank you all for reading this Photoshop tutorial, I hope you learned something!

0 Response to "Creating Your own Grunge Brushes"
Post a Comment