Simple Coffee Cup Icon Photoshop
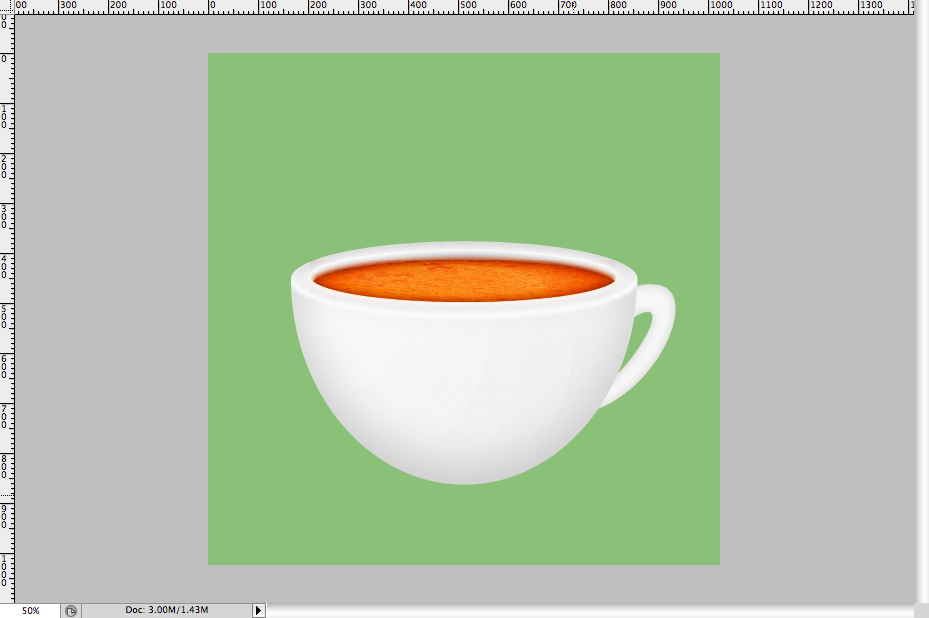
Final Image

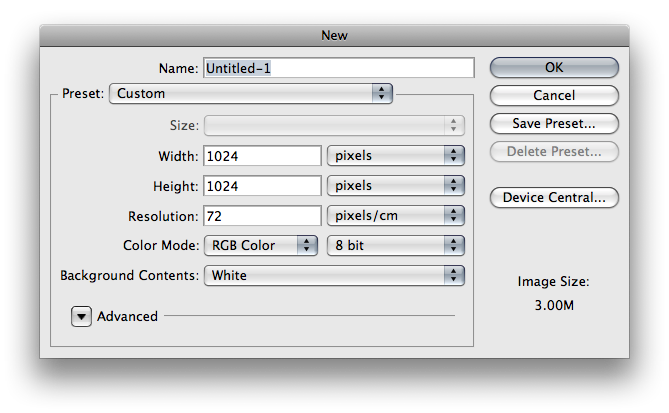
Step 1
Make a new Photoshop document with the dimensions of 1024×1024 pixels, this is a nice round size and is a good one to use when making large icons.
Step 2
Set a background colour (I went for a light green) and layout some guides, they should snap to the center of the x and y axis.
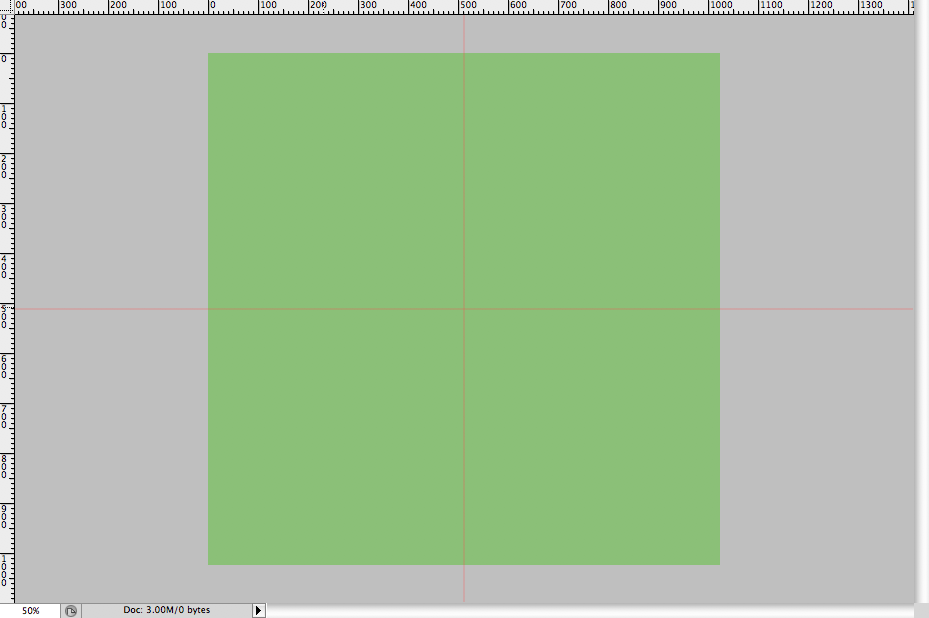
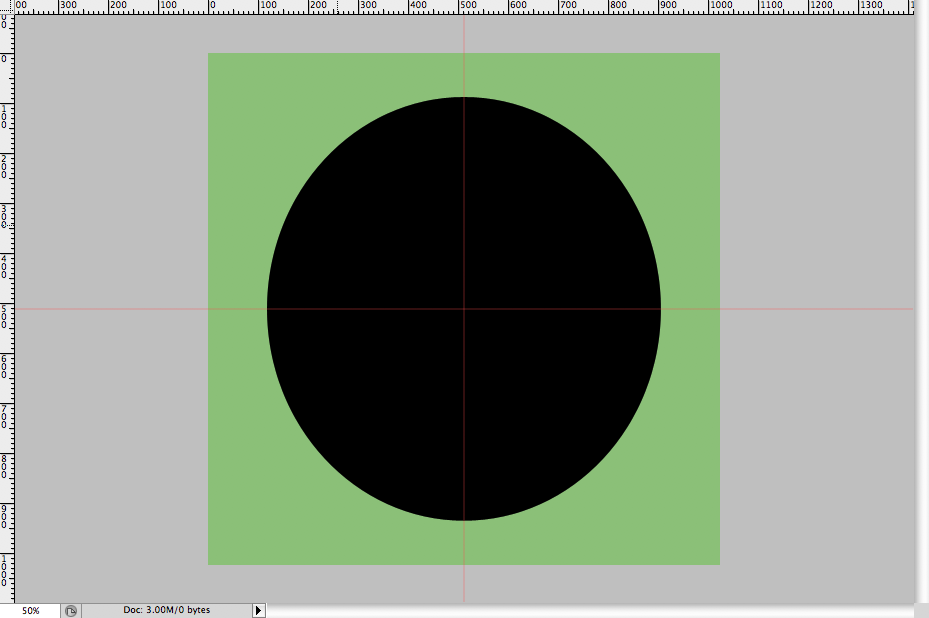
Step 3
Make an oval shape and center it. Then rename it to “Base”.
Step 4
Get the rectangle tool and set it to “subtract” then cut the top half of the oval, this is just to make it easier to see other shapes.

Step 5
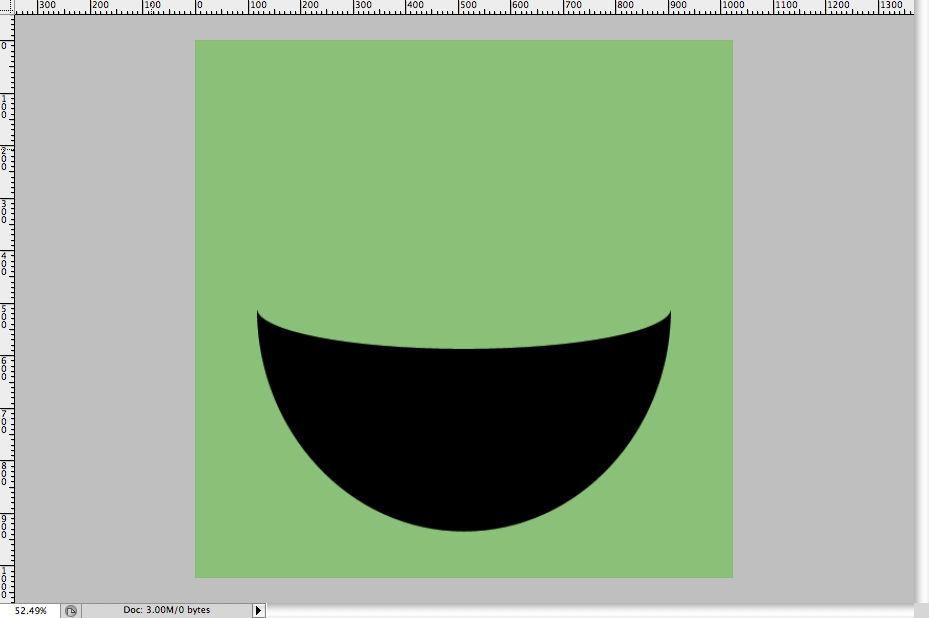
Now make another oval across the half oval to make a bowl like shape, you may want to adjust the colour for visibility. Rename this to “Rim”.
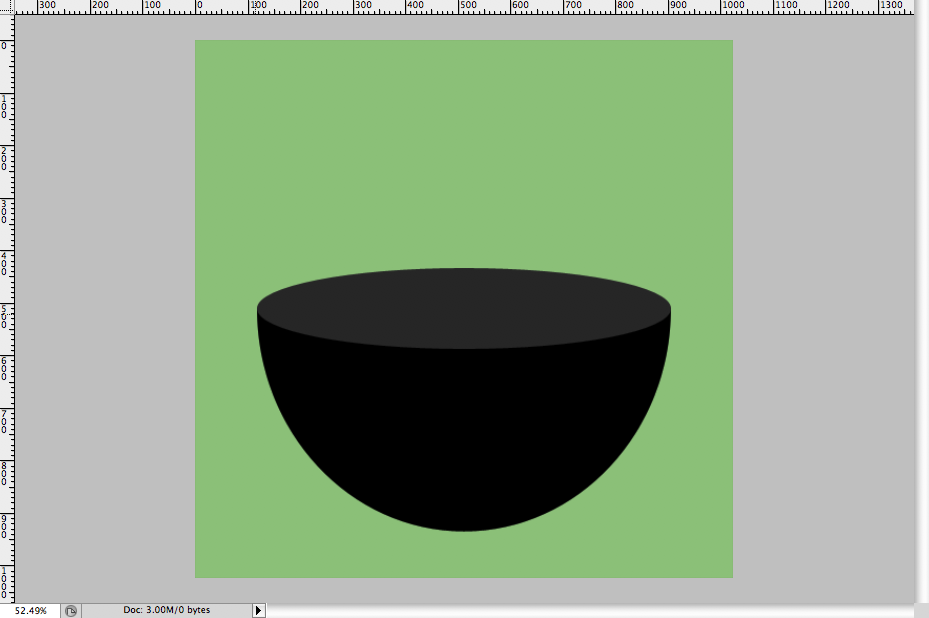
Step 6
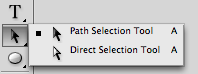
We’re going to do a little back step now, but this will help us a lot later on. Grab the path selection tool which is the black cursor towards the bottom of your toolbar, if the arrow is white, hold down the button for a couple of seconds and select the black cursor.
Step 7
Select the oval you just made and copy it, then hide the layer and click on the layer mask of the oval beneath paste the shape you just copied and set it to subtract the shape. Your final shape should look like this:
Set “Rim” back to visible.
Step 8
Ok so we have the cup’s basic shape, now we’re going to tweak it a little and add some layer styles. I decided the cup was a little too wide so using the Free Transform Tool I squished it a little.
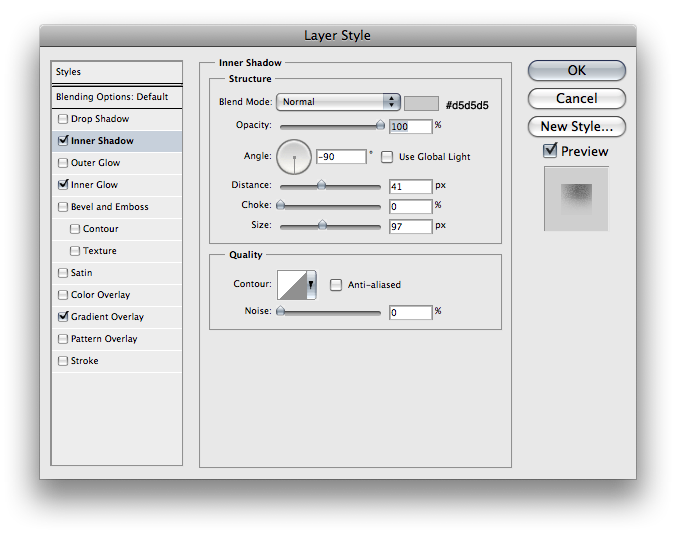
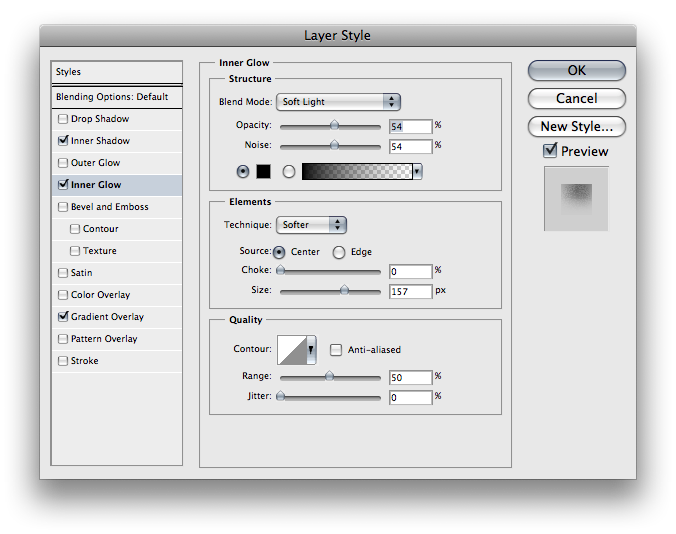
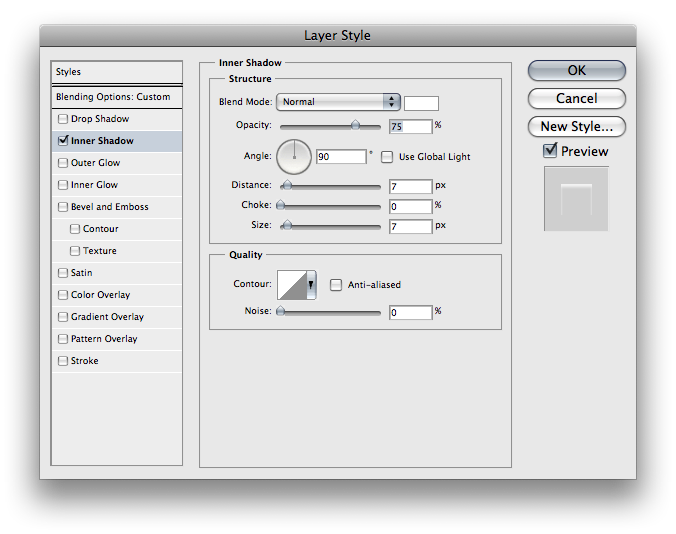
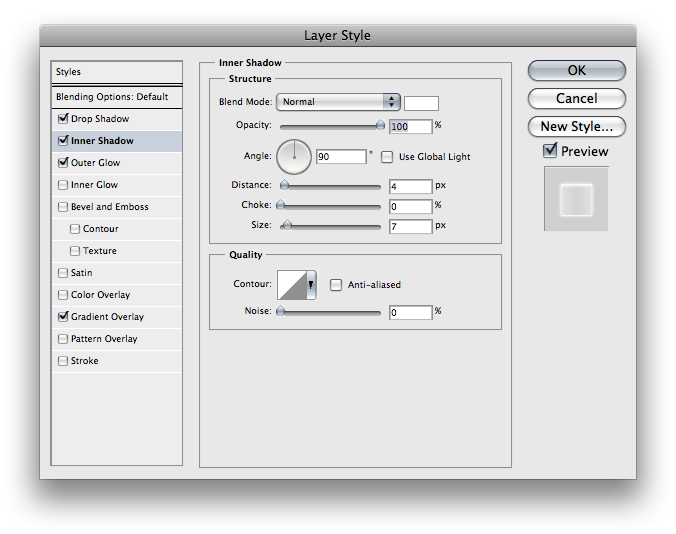
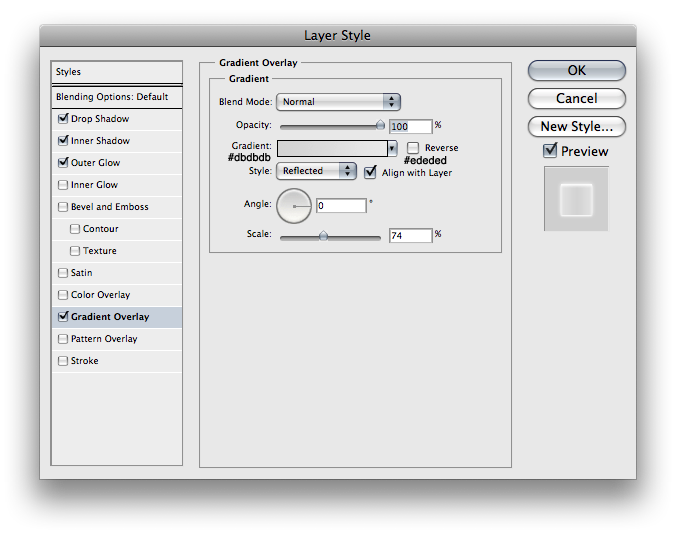
Now we’re going to add some layer styles. Change the colour of “Base” to a light grey, I used #f4f4f4. Then apply these layer styles:
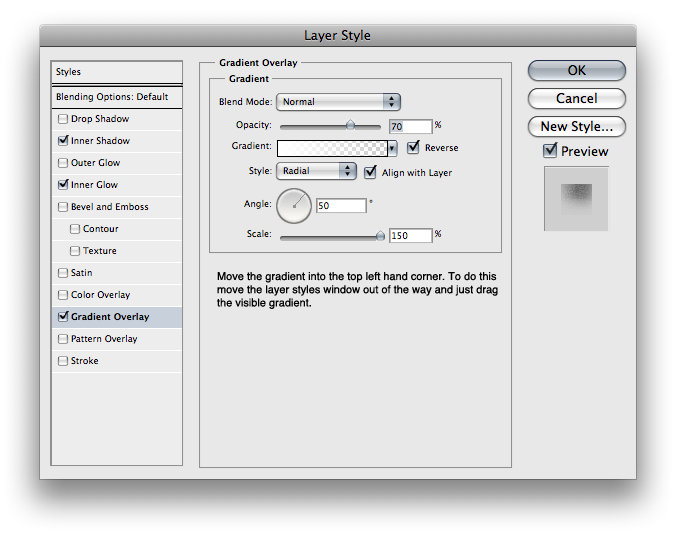
Step 9
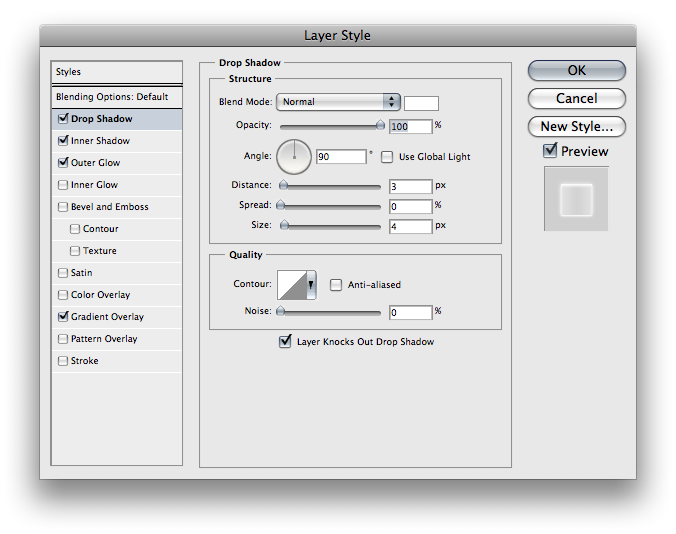
Duplicate “Base” (ctrl or cmd+j) and remove all the styles then apply this style:
Step 10
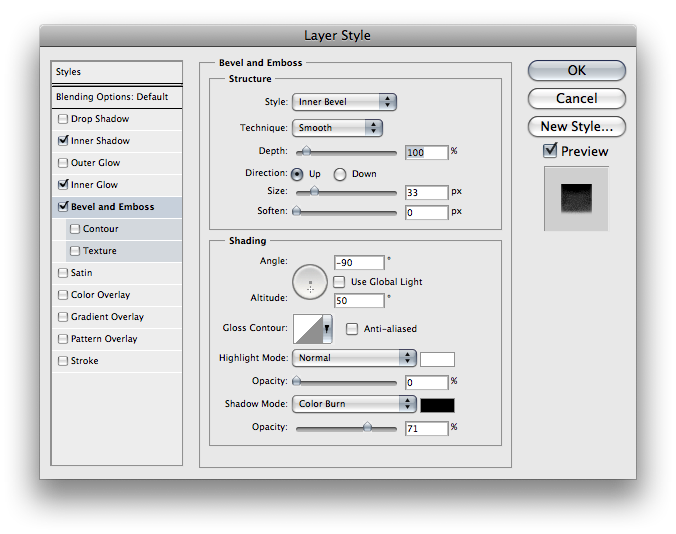
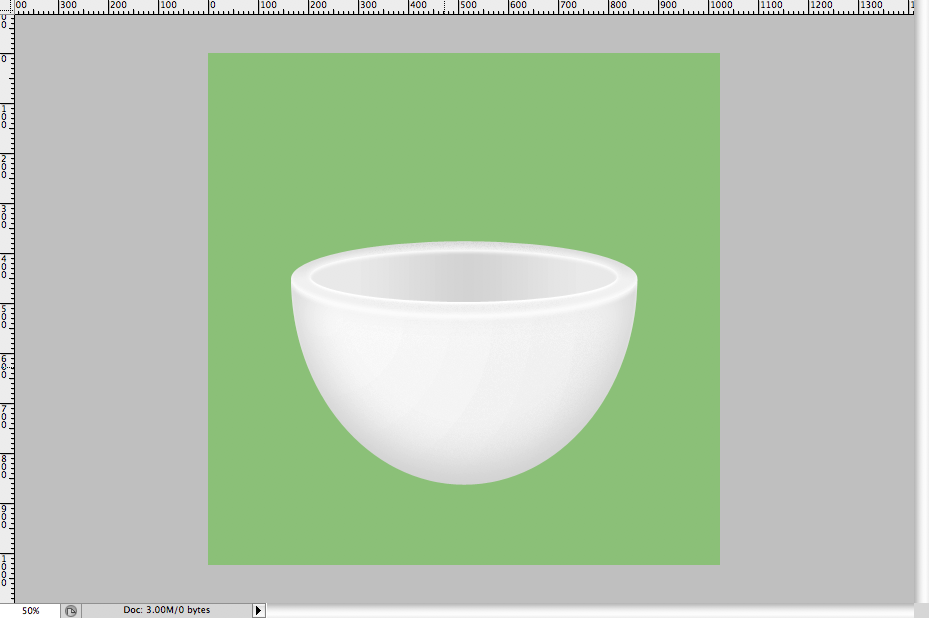
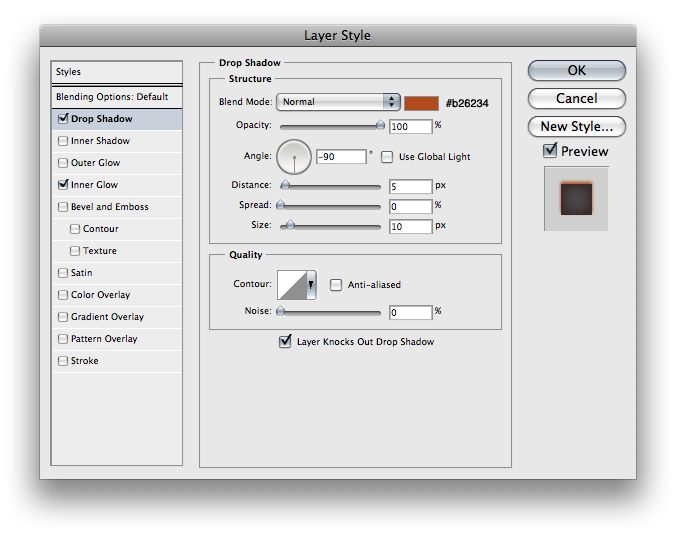
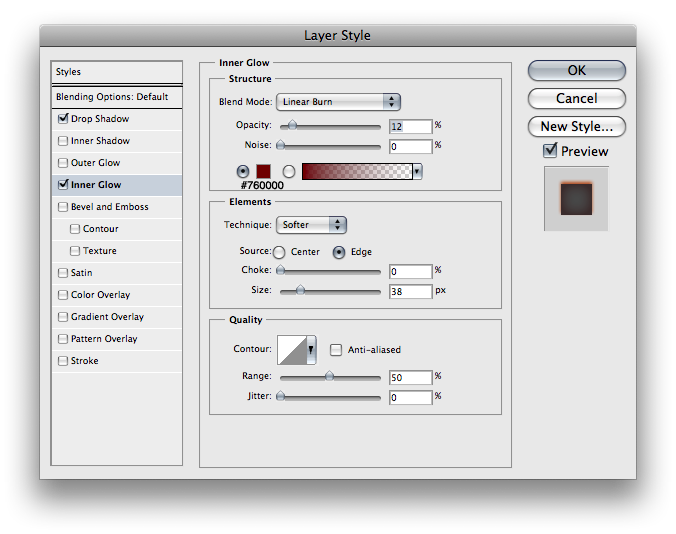
Now it’s time to move onto the “Rim” layer. Set it’s colour to #f4f4f4 just like “Base” and add these layer styles:
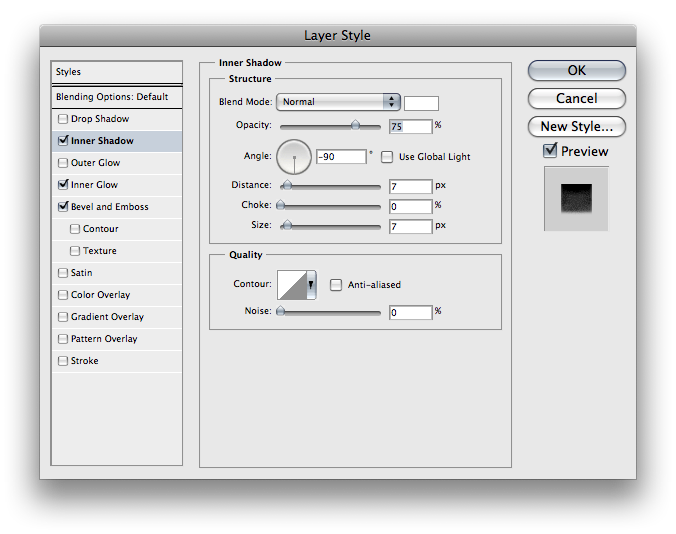
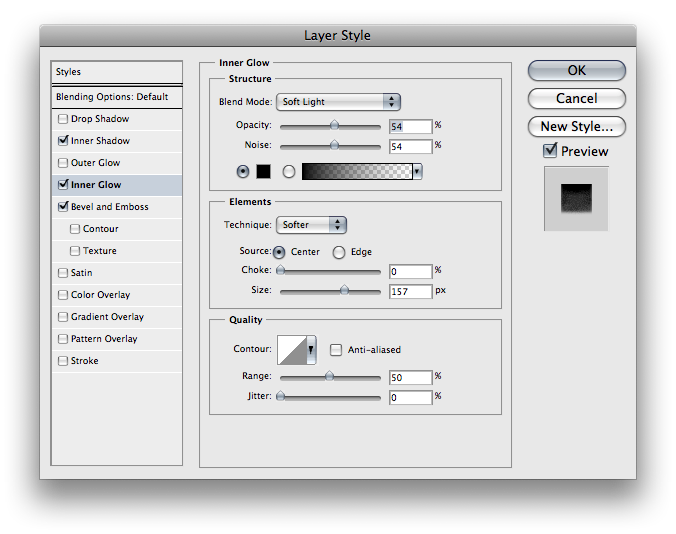
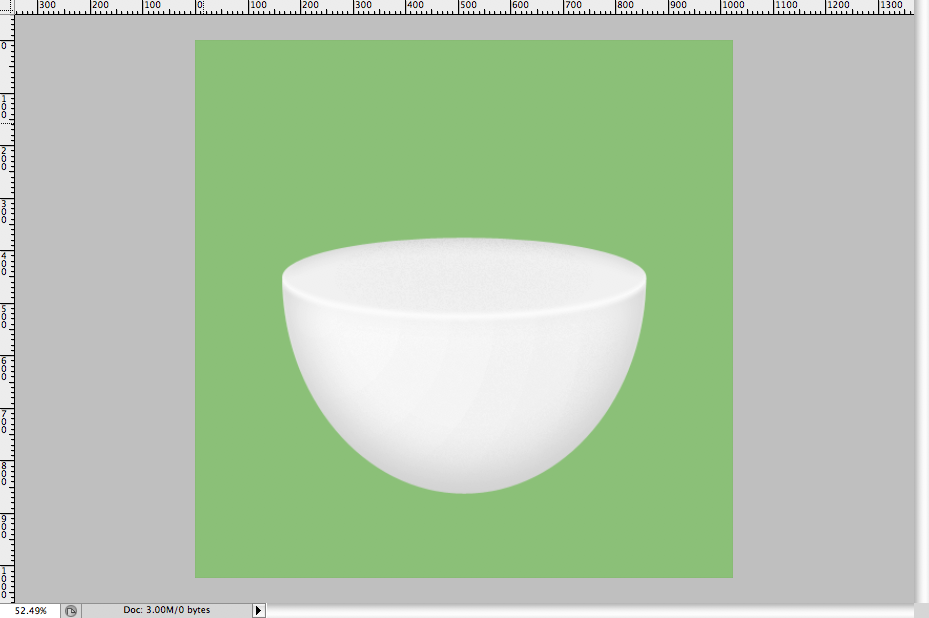
This is what your cup should look like so far, although it looks more like a japanese rice bowl at the moment.
Step 11
Now it’s time to hollow this cup out, duplicate the “Rim” layer and get the free transform tool (ctrl or cmd + T), then adjust the size to your preference (how big you want the rim to be). Rename it to “Cup_Inner”.
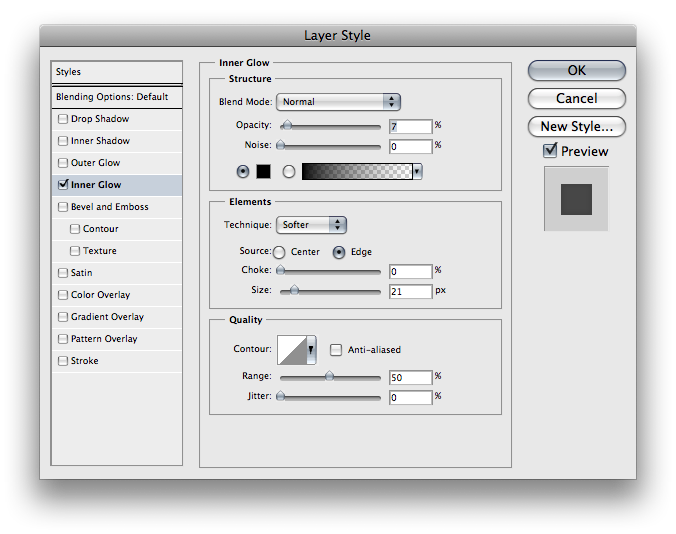
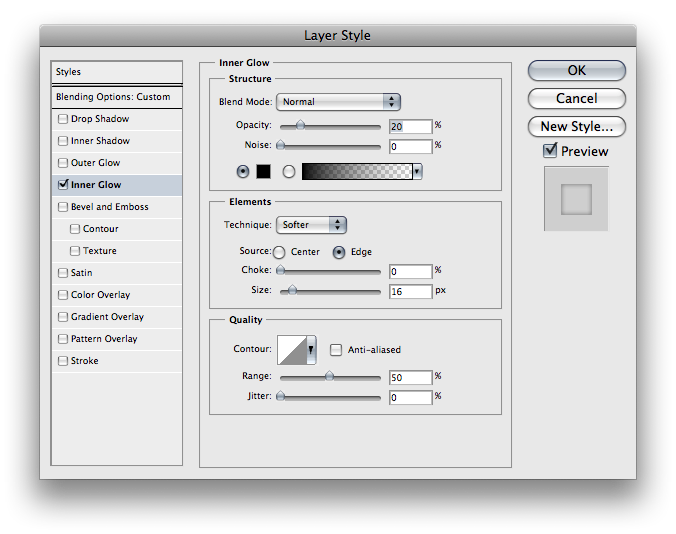
Now apply some layer styles to this:

Here’s what you should have so far:
Step 12
Now we’re going to draw the handle use the pen tool to draw a shape similar to this.
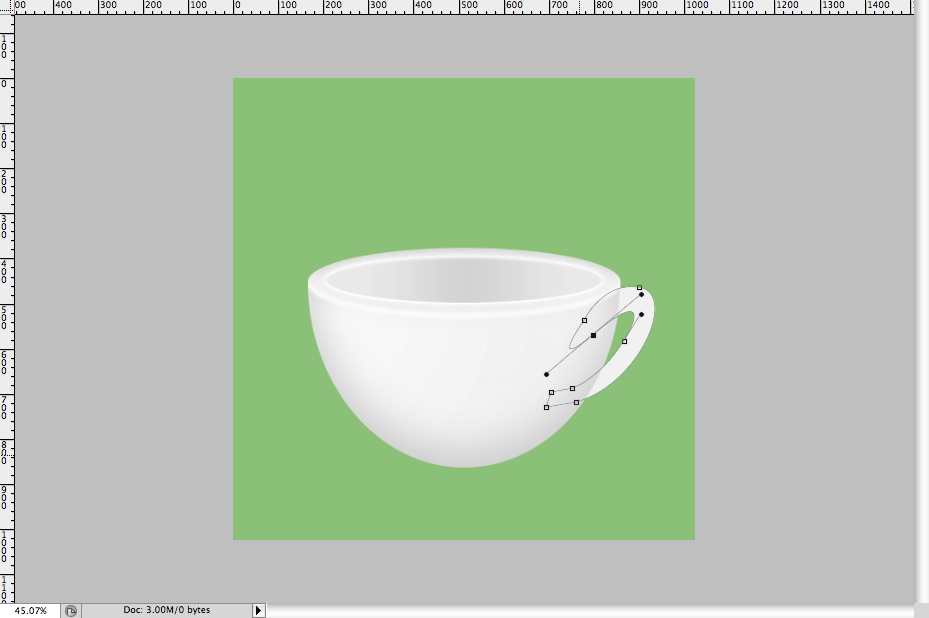
Then we’re going to apply a very simple layer style:
So that’s the cup done, but it would look miles better with some coffee in it.

Step 13
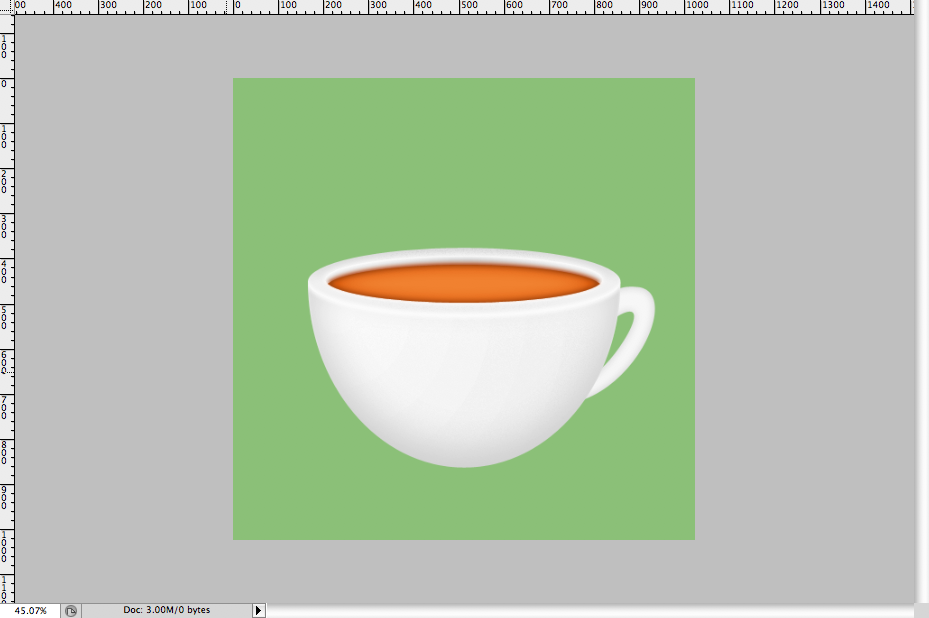
Get the “Cup_Inner” layer and duplicate it, Recolour it as #e7974f and Rename it as “Coffee”. Move it down 10 pixels then copy the “Cup_Inner” vector mask and paste it on “Coffee” and set the mode to Intersect. Your final result should be this:

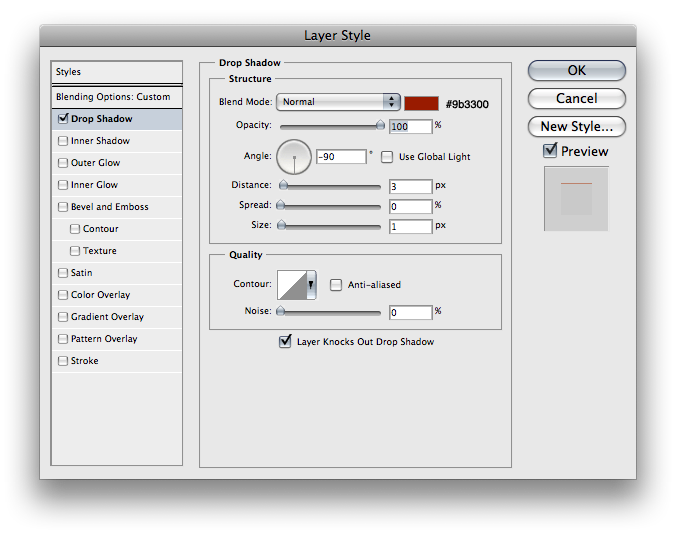
Apply these layer styles to the “Coffee” layer:
Step 14
Duplicate “Coffee” and set it’s fill opacity to 0%, then add this style:
At the moment this is our coffee cup:
Step 15
Now at the moment it’s not looking at all like coffee, nevermind frothy coffee, so we’re going to use a texture to make it a little quicker and easier.
Stock Photo: Premium, or Free Versions
The texture I used cannot be included with the .PSD I’m afraid. However here’s a link to it here, alternatively if your not willing to fork over a dollar (or 20 if it’s your first Envato purchase or your balance is less than a dollar) you could use my texture for free here. However the result with mine isn’t very good, but of course there is the option of hunting another free texture though, which if you did and posted it in the comments you’d be a star. ![]()
Import whichever image you chose to use, name the layer to “Texture” and shrink it down a bit. Then fit it to the perspective of the coffee, you may want to make it slightly transparent so you can see what your doing. Here’s what it should look like:
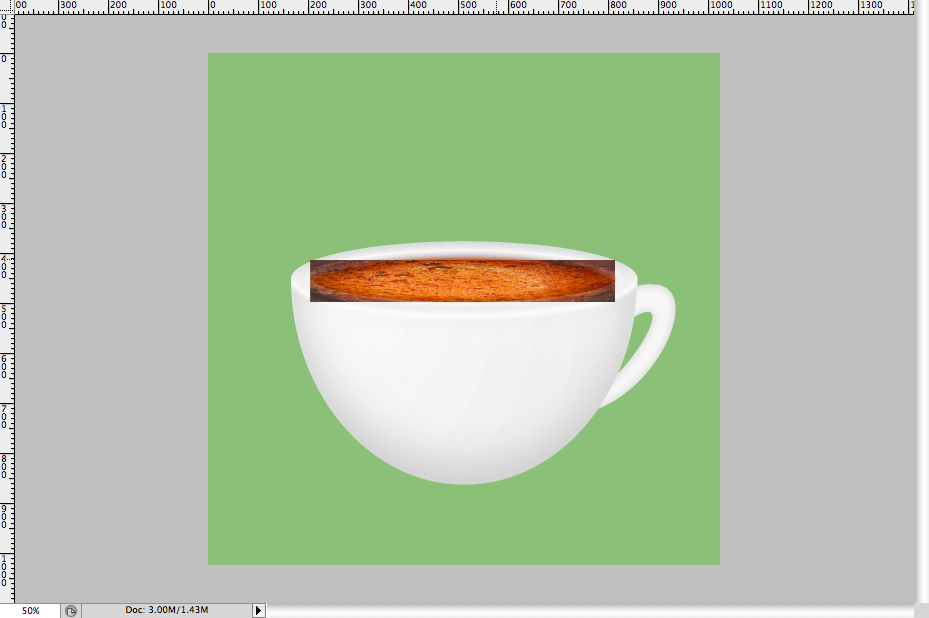
Set the layer’s blending mode to overlay and set it’s opacity down to 40%, then copy and paste the “Coffee” layer’s vector masks onto the texture and set it to intersect. To soften the edge of the texture just add this style:
Again here’s what it should look like:
We’re nearly done, but those bubbles could do with some more definition and we need some steam and a shadow.
Step 16
Get the vector eclipse tool and start going over the bubbles like this:
Repeat this until you get most of the bubbles covered, that includes some of the smaller ones. Convert the layer to a smart object. Then go to Filters > Blur > Gaussian blur and set it to a value of 1.5. Then turn the layers opacity down to 36%. You can name this layer “Bubbles”.
Step 17
Now we’re going to do the smoke and the shadow, to make the smoke get the pen tool and draw 5 shapes in white like this:
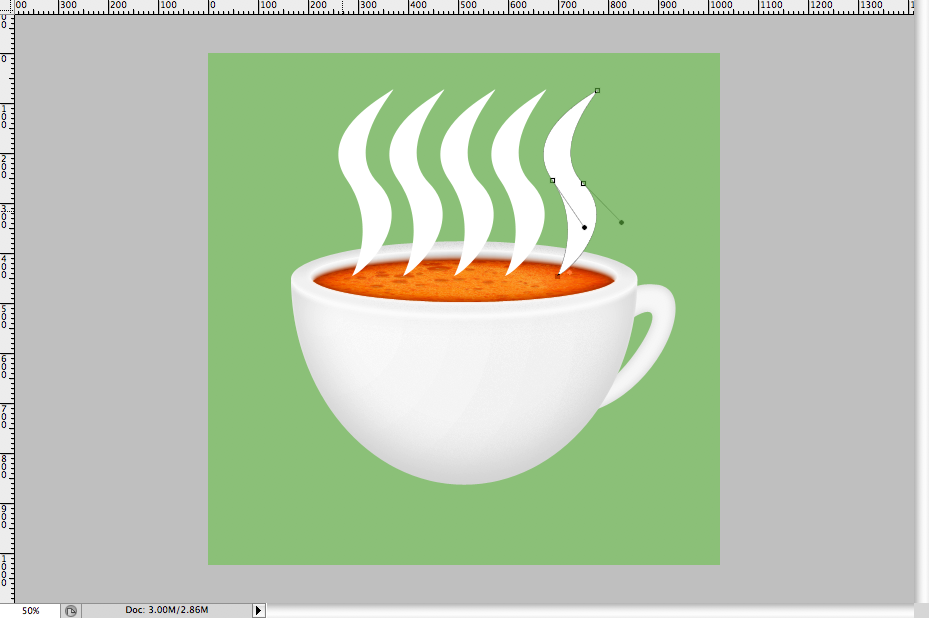
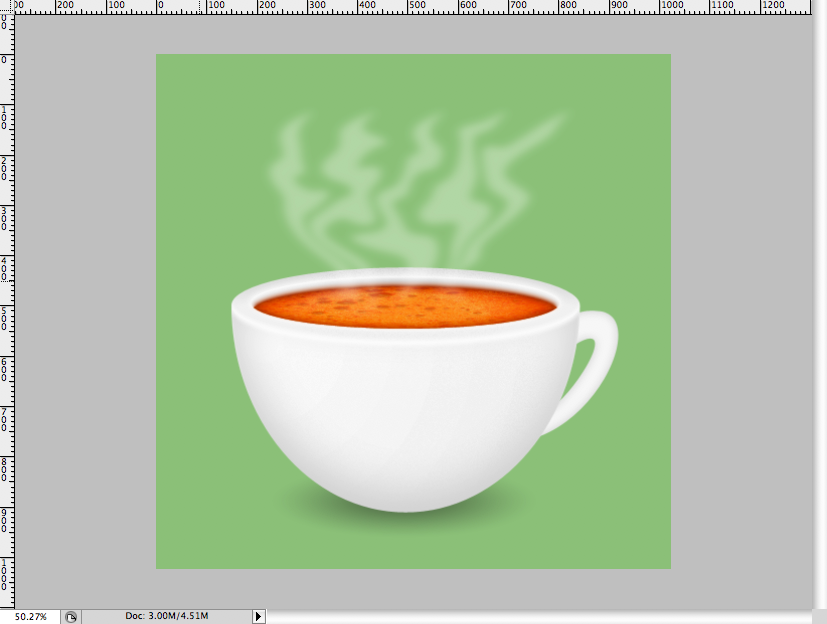
Then merge the layers and go to Filters > Liquify, use this to mess the shapes up a bit, this is what it looked like for me:

Now Gaussian blur the shape you just made with the value of 7.5, then reduce it’s opacity down to 35%.
Step 18
Now to finish this all off we’re going to add a simple shadow, get the ellipse tool and draw a circle, then set it’s fill to 0% and set a black to transparent black radial gradient layer style. Convert the shape to a smart object and squash it into an oval. Set it’s opacity to 40% and put it below the cup.
Conclusion
So there you have it. Making a semi-realistic coffee cup, I hope you enjoyed this tutorial and learned some new Photoshop techniques. If your dying to see the final result again look below.

0 Response to "Simple Coffee Cup Icon Photoshop"
Post a Comment